This feature is currently in beta. If you have questions or run into an issue, please contact support. Auto layouts analyzes your clip’s transcript and video and produces a sequence of layouts — camera bubbles, screen-only beats, camera cutaways, side-by-side splits, TV-presenter compositions, and optional image B-roll — tuned to your chosen editing style.Documentation Index
Fetch the complete documentation index at: https://tella.com/docs/llms.txt
Use this file to discover all available pages before exploring further.
How to generate auto layouts
-
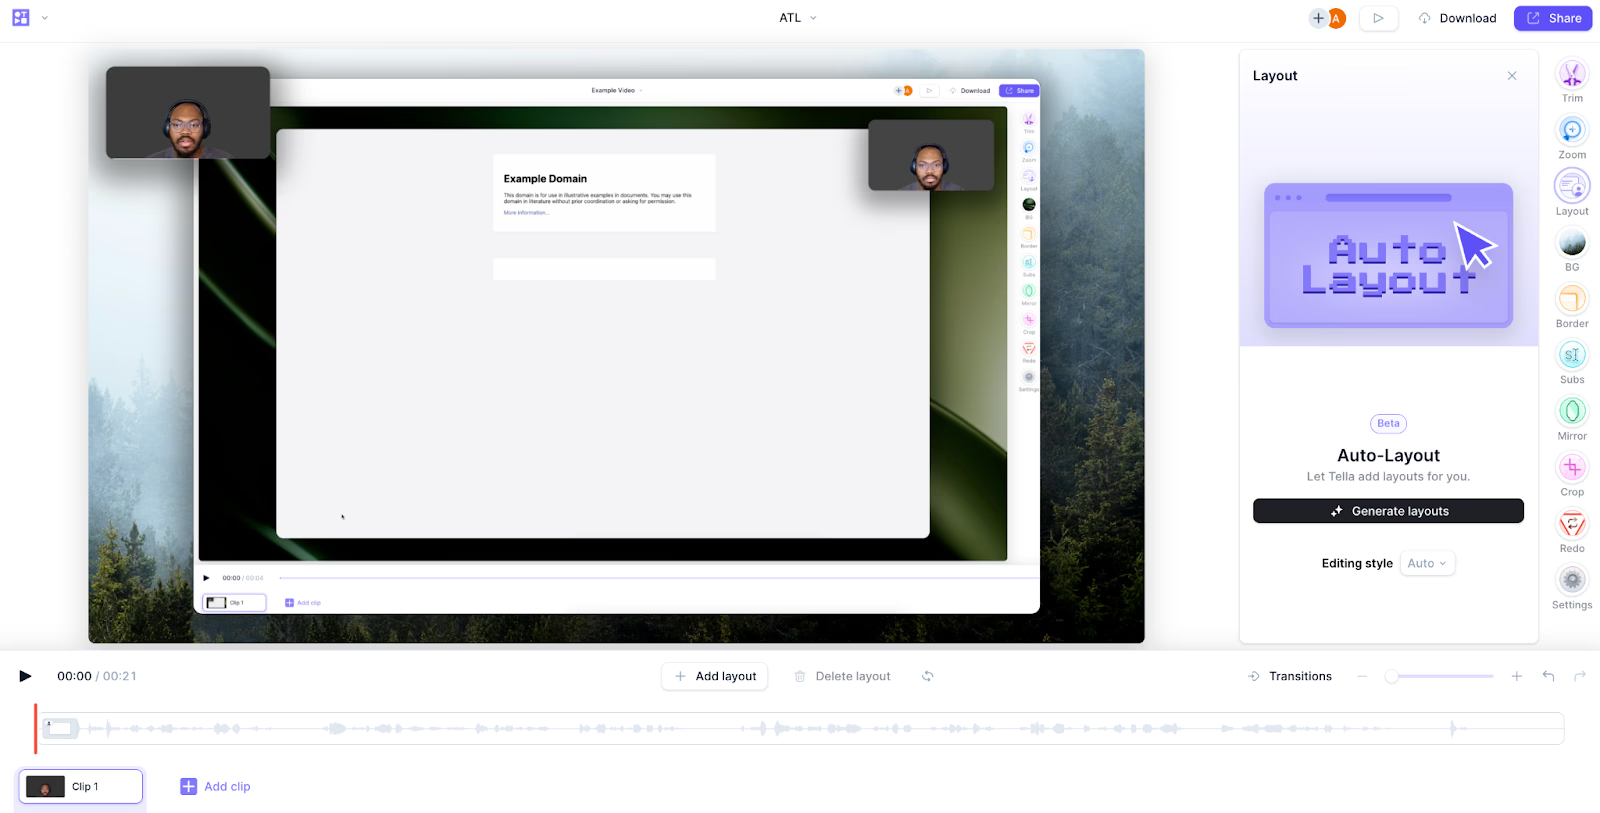
Open a clip in the editor and go to the Layout section.
-
Choose your editing style. Auto is selected by default and picks the right style based on the content of your clip.
- Each style changes the pacing, composition, and edit vocabulary of your video
- Hover over a style to see a description
- Try Auto the first time you generate layouts
-
Click Generate layouts.
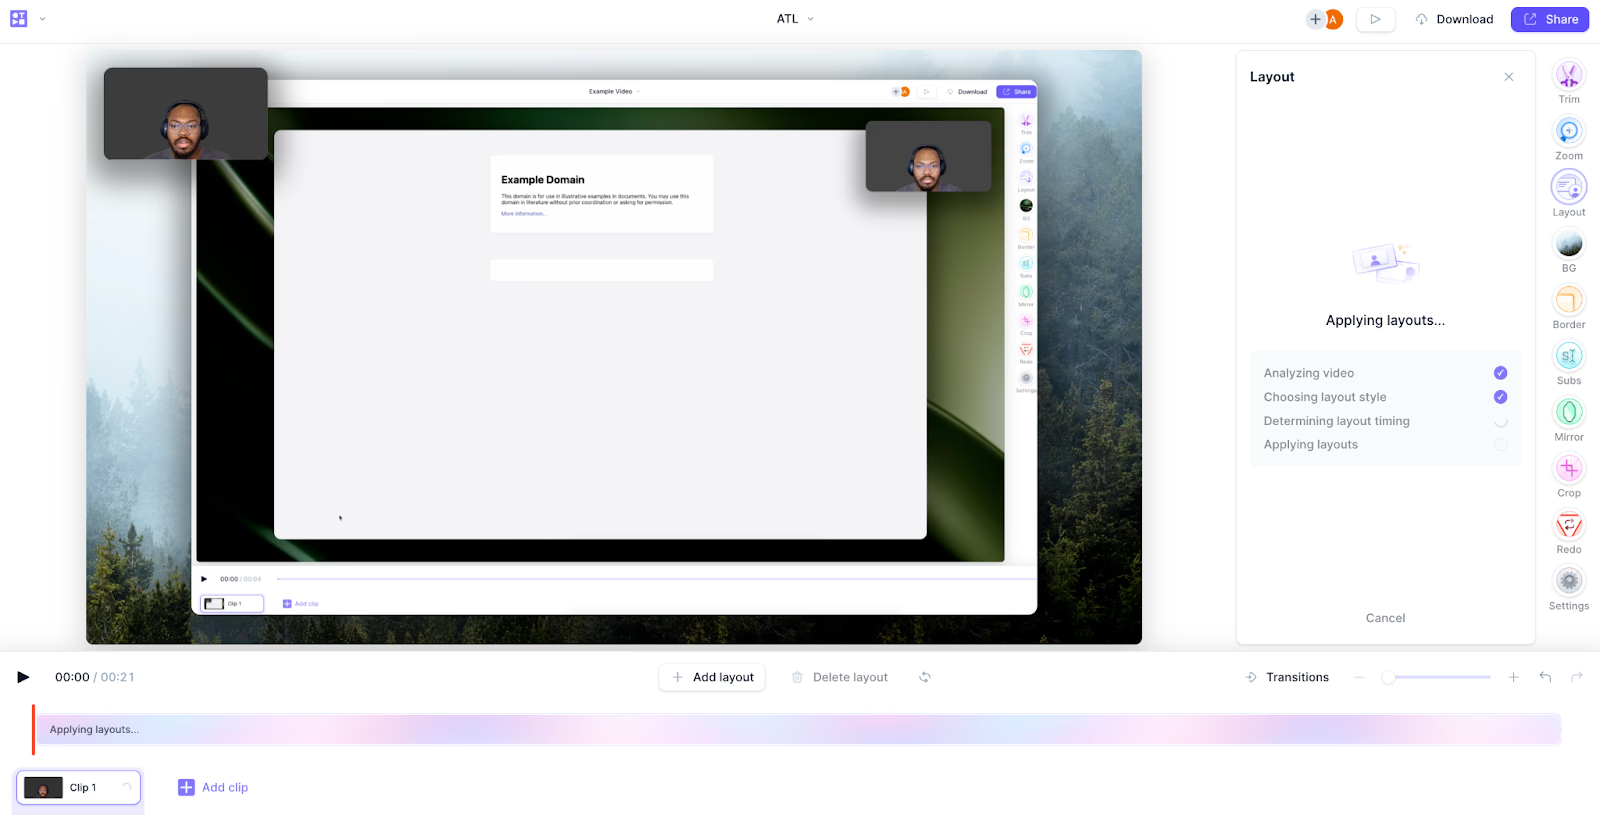
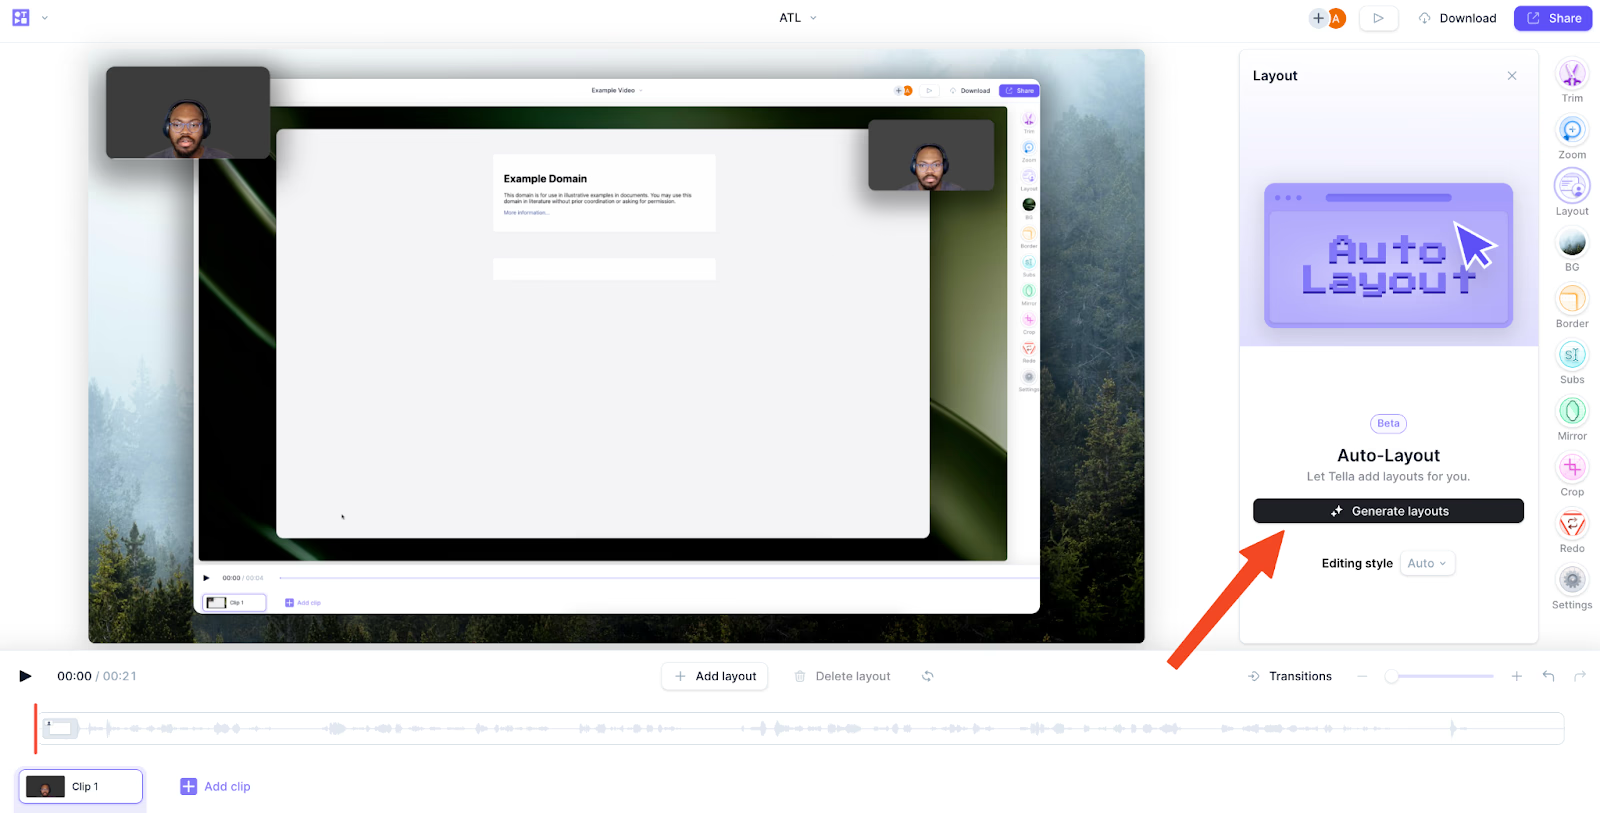
- Wait for the generation to complete.
-
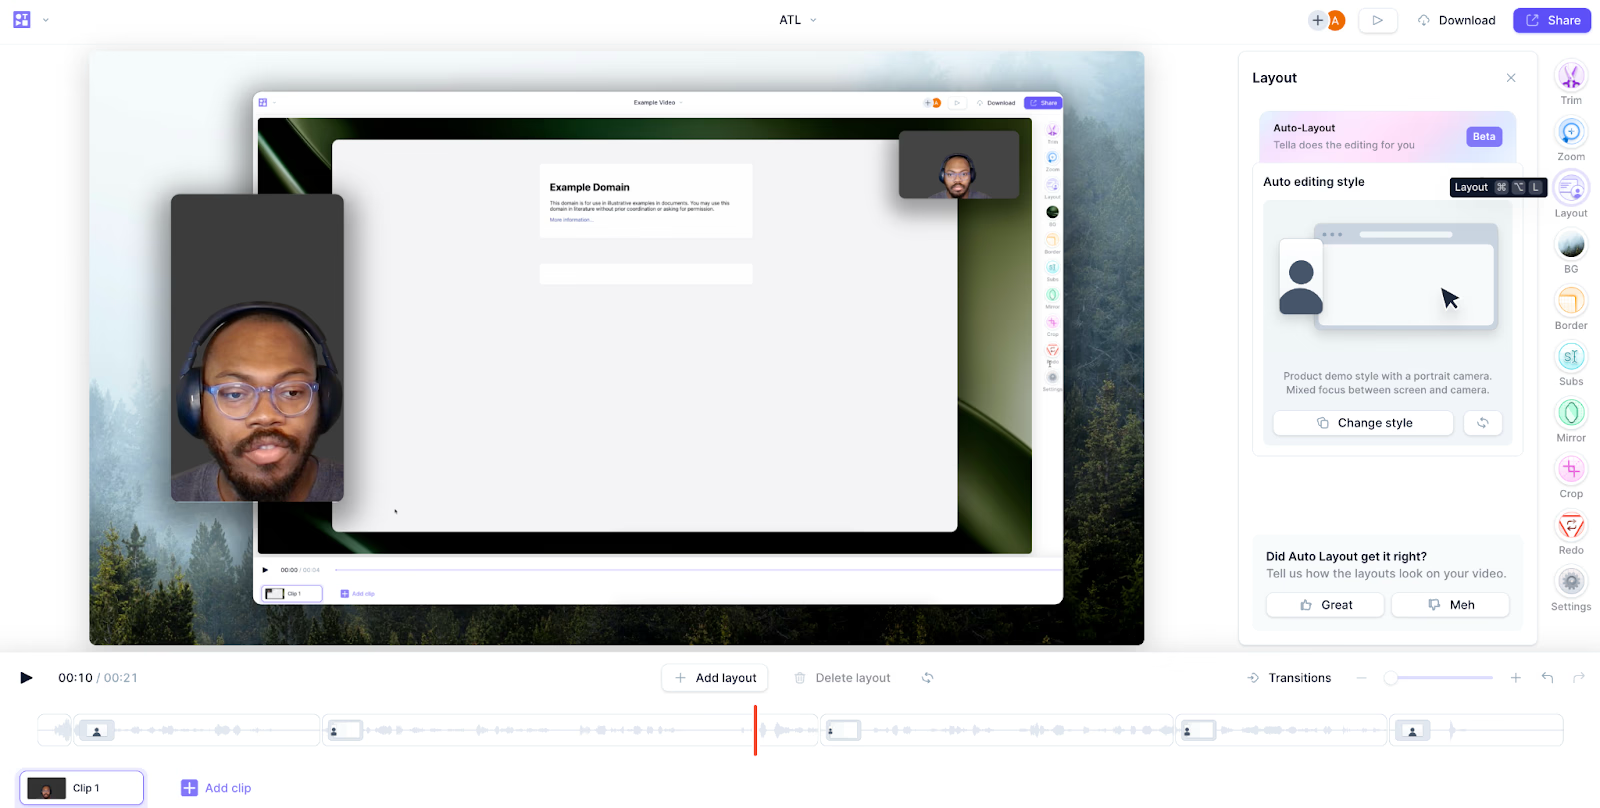
Review the result. Give a thumbs up or thumbs down to rate it — your feedback helps tune the model.
After generation
Once auto layouts finishes, you can:- Change the editing style and regenerate for a different approach
- Regenerate with the same style for an alternative take
- Delete individual layouts while keeping the rest
- Adjust the start and end of any layout
- Undo or redo — you’re never locked in
- Windows:
Ctrl + Zto undo,Ctrl + Yto redo - macOS:
Cmd + Zto undo,Cmd + Yto redo
- Windows:
- Rate the result with the thumbs up/down buttons
Editing styles
Each style is tuned for a different kind of content and a different canvas. The styles available to auto layouts depend on your clip’s recording type and canvas size.- Auto — picks the most appropriate style based on what you say and show
- Product demo — high-energy proof + commentary; mixes screen reveals, camera cutaways, punch-ins, and B-roll for product walkthroughs, page critiques, and feature launches
- Tutorial — procedural, step-by-step instruction where the viewer needs to follow exact clicks, typing, and configuration
- Presentation — speaker-led talks, pitches, recaps, and lessons; includes a hosted TV show variant on landscape canvases that frames the speaker like a presenter
- Intro & outro — only bookends the clip with a camera-led intro and outro and leaves the middle untouched
Image B-roll
For product demo and presentation styles, auto layouts can insert AI-generated still images as B-roll over abstract concepts, benefits, customer situations, examples, and metaphors — places where there’s nothing specific on screen to inspect.- B-roll appears as a generated still image (never video) sized to your canvas
- Placeholders show the prompt while the image is generating
- B-roll is skipped during clicks, typing, cursor work, code edits, and dense slide reading
- The Intro & outro style doesn’t add B-roll by default
Turn B-roll on or off
Generated B-roll is off by default. To enable it for a generation:- Open the options menu next to Generate layouts.
- Under B-roll, toggle Generate B-roll on.
- Generate or regenerate layouts.
Supported recordings and canvases
Auto layouts works with:- Landscape (16:9) — two-track (camera + screen), screen-only, and camera-only recordings
- Portrait (9:16) — two-track, screen-only, and camera-only recordings
- Square (1:1) and round — two-track and camera-only recordings
Best practices
- Start with a clean slate — auto layouts works best on raw, unedited recordings
- Crop first — if you need to crop your screen, do it before running auto layouts
- One clip at a time — generate layouts per clip; layouts won’t generate across an entire video in one pass
What to expect
- Variability — each generation can produce slightly different results; regenerate to find the version you like
- Pacing — overrides are used as exceptions to the base layout, so most of the clip stays on the base composition with timed accents around important moments
- Processing time — longer clips take longer to generate
Limitations
- Maximum clip length: 20 minutes
- Make all crop changes before running auto layouts — cropping afterwards affects every layout and can produce unexpected results
- After cropping, you can’t update the generated layouts